0 사전 작업
라즈베리파이에 Node-RED가 (도커 방식이 아닌) 일반 방식으로 설치되어 있어야 합니다.
1 사용자와 비밀번호 등록하기
Node_RED를 처음 설치하면 접속 제한이 되지 않으므로 누구든지 접속할 수 있습니다. 여기서는 Node-RED에 사용자 ID와 비밀번호를 등록하는 방법을 안내합니다.
만약 Node-RED가 외부 네트웍에 노출된다면 최소한 사용자 ID와 비밀번호를 사용해서 접속을 통제해야 합니다.
Node-RED 명령어 설치하기
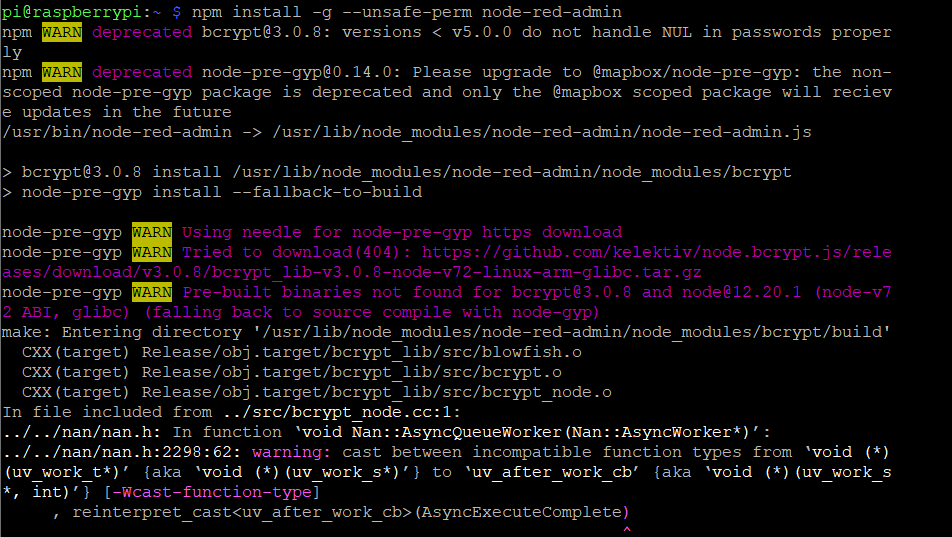
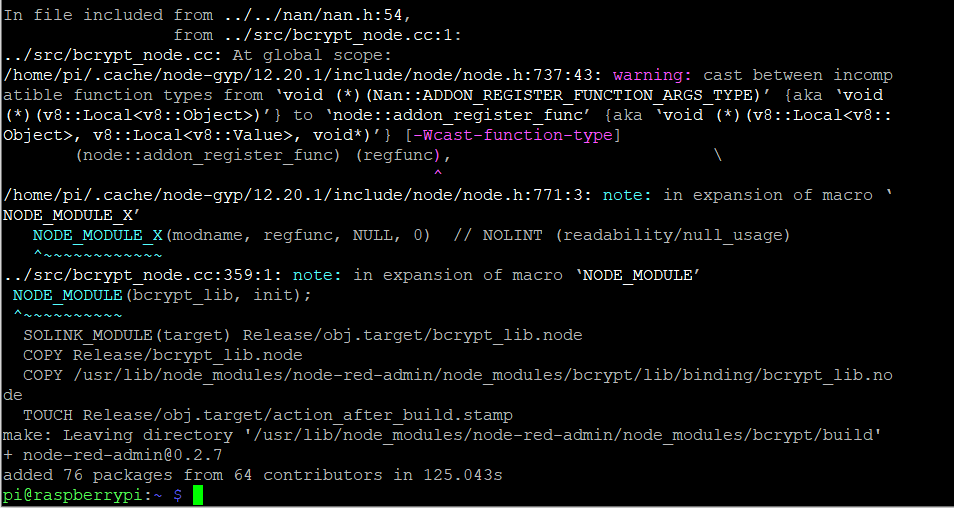
비밀번호 해시 명령어를 사용하기 위해서는 Node-RED 명령어를 한 번 설치해야 합니다. 아래의 명령어를 입력합니다.
npm install -g --unsafe-perm node-red-admin
Node-RED 비밀 번호 해시 만들기
만약 비밀 번호 gildongcoolguy의 비밀 번호 해시를 만들고 싶으면 다음과 같은 명령어를 입력합니다.
node-red-admin hash-pw
이 명령어를 실행하면 비밀번호를 요구합니다. 이 때 gildongcoolguy을 입력하면 암호화된 비밀번호가 다음과 같이 출력됩니다.

출력된 해시 비밀번호는 다음 단계에서 사용해야 하므로 보관해 두어야 합니다.
$2b$08$q9jgUlHa4acWMtPPBYQI0.DxrfKQuthuUuwecy2xhSZLlvAXmmSKm
이 처럼 해시 비밀 번호는 몇 개든지 만들 수 있습니다.
settings.js 파일 수정하기
sudo nano .node-red/settings.js
다음과 같은 편집 화면이 나타납니다.
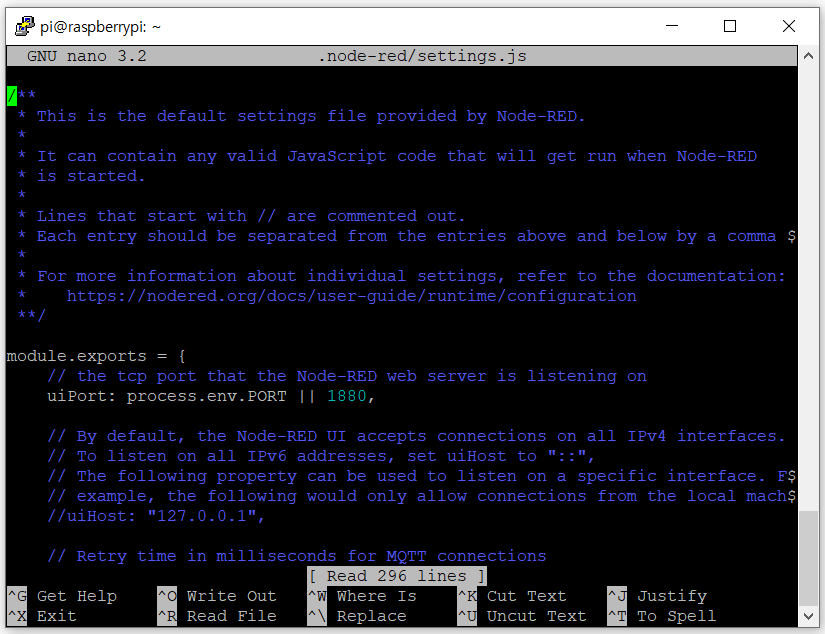
다음은 .node-red/settings.js의 소스 파일입니다. 만약 파일이 없으면 디렉토리를 만들고 파일을 복사하여 만들어야 합니다.
/**
 * This is the default settings file provided by Node-RED.
 *
 * It can contain any valid JavaScript code that will get run when Node-RED
 * is started.
 *
 * Lines that start with // are commented out.
 * Each entry should be separated from the entries above and below by a comma ','
 *
 * For more information about individual settings, refer to the documentation:
 *    https://nodered.org/docs/user-guide/runtime/configuration
 **/

module.exports = {
    // the tcp port that the Node-RED web server is listening on
    uiPort: process.env.PORT || 1880,

    // By default, the Node-RED UI accepts connections on all IPv4 interfaces.
    // To listen on all IPv6 addresses, set uiHost to "::",
    // The following property can be used to listen on a specific interface. For
    // example, the following would only allow connections from the local machine.
    //uiHost: "127.0.0.1",

    // Retry time in milliseconds for MQTT connections
    mqttReconnectTime: 15000,

    // Retry time in milliseconds for Serial port connections
    serialReconnectTime: 15000,

    // Retry time in milliseconds for TCP socket connections
    //socketReconnectTime: 10000,

    // Timeout in milliseconds for TCP server socket connections
    //  defaults to no timeout
    //socketTimeout: 120000,

    // Maximum number of messages to wait in queue while attempting to connect to TCP socket
    //  defaults to 1000
    //tcpMsgQueueSize: 2000,

    // Timeout in milliseconds for HTTP request connections
    //  defaults to 120 seconds
    //httpRequestTimeout: 120000,

    // The maximum length, in characters, of any message sent to the debug sidebar tab
    debugMaxLength: 1000,

    // The maximum number of messages nodes will buffer internally as part of their
    // operation. This applies across a range of nodes that operate on message sequences.
    //  defaults to no limit. A value of 0 also means no limit is applied.
    //nodeMessageBufferMaxLength: 0,

    // To disable the option for using local files for storing keys and certificates in the TLS configuration
    //  node, set this to true
    //tlsConfigDisableLocalFiles: true,

    // Colourise the console output of the debug node
    //debugUseColors: true,

    // The file containing the flows. If not set, it defaults to flows_<hostname>.json
    //flowFile: 'flows.json',

    // To enabled pretty-printing of the flow within the flow file, set the following
    //  property to true:
    //flowFilePretty: true,

    // By default, credentials are encrypted in storage using a generated key. To
    // specify your own secret, set the following property.
    // If you want to disable encryption of credentials, set this property to false.
    // Note: once you set this property, do not change it - doing so will prevent
    // node-red from being able to decrypt your existing credentials and they will be
    // lost.
    //credentialSecret: "a-secret-key",

    // By default, all user data is stored in a directory called `.node-red` under
    // the user's home directory. To use a different location, the following
    // property can be used
    //userDir: '/home/nol/.node-red/',

    // Node-RED scans the `nodes` directory in the userDir to find local node files.
    // The following property can be used to specify an additional directory to scan.
    //nodesDir: '/home/nol/.node-red/nodes',

    // By default, the Node-RED UI is available at http://localhost:1880/
    // The following property can be used to specify a different root path.
    // If set to false, this is disabled.
    //httpAdminRoot: '/admin',

    // Some nodes, such as HTTP In, can be used to listen for incoming http requests.
    // By default, these are served relative to '/'. The following property
    // can be used to specifiy a different root path. If set to false, this is
    // disabled.
    //httpNodeRoot: '/red-nodes',

    // The following property can be used in place of 'httpAdminRoot' and 'httpNodeRoot',
    // to apply the same root to both parts.
    //httpRoot: '/red',

    // When httpAdminRoot is used to move the UI to a different root path, the
    // following property can be used to identify a directory of static content
    // that should be served at http://localhost:1880/.
    //httpStatic: '/home/nol/node-red-static/',

    // The maximum size of HTTP request that will be accepted by the runtime api.
    // Default: 5mb
    //apiMaxLength: '5mb',

    // If you installed the optional node-red-dashboard you can set it's path
    // relative to httpRoot
    //ui: { path: "ui" },

    // Securing Node-RED
    // -----------------
    // To password protect the Node-RED editor and admin API, the following
    // property can be used. See http://nodered.org/docs/security.html for details.
    //adminAuth: {
    //    type: "credentials",
    //    users: [{
    //        username: "admin",
    //        password: "$2a$08$zZWtXTja0fB1pzD4sHCMyOCMYz2Z6dNbM6tl8sJogENOMcxWV9DN.",
    //        permissions: "*"
    //    }]
    //},

    // To password protect the node-defined HTTP endpoints (httpNodeRoot), or
    // the static content (httpStatic), the following properties can be used.
    // The pass field is a bcrypt hash of the password.
    // See http://nodered.org/docs/security.html#generating-the-password-hash
    //httpNodeAuth: {user:"user",pass:"$2a$08$zZWtXTja0fB1pzD4sHCMyOCMYz2Z6dNbM6tl8sJogENOMcxWV9DN."},
    //httpStaticAuth: {user:"user",pass:"$2a$08$zZWtXTja0fB1pzD4sHCMyOCMYz2Z6dNbM6tl8sJogENOMcxWV9DN."},

    // The following property can be used to enable HTTPS
    // See http://nodejs.org/api/https.html#https_https_createserver_options_requestlistener
    // for details on its contents.
    // This property can be either an object, containing both a (private) key and a (public) certificate,
    // or a function that returns such an object:
    //// https object:
    //https: {
    //  key: require("fs").readFileSync('privkey.pem'),
    //  cert: require("fs").readFileSync('cert.pem')
    //},
    ////https function:
    // https: function() {
    //     // This function should return the options object, or a Promise
    //     // that resolves to the options object
    //     return {
    //         key: require("fs").readFileSync('privkey.pem'),
    //         cert: require("fs").readFileSync('cert.pem')
    //     }
    // },

    // The following property can be used to refresh the https settings at a
    // regular time interval in hours.
    // This requires:
    //   - the `https` setting to be a function that can be called to get
    //     the refreshed settings.
    //   - Node.js 11 or later.
    //httpsRefreshInterval : 12,

    // The following property can be used to cause insecure HTTP connections to
    // be redirected to HTTPS.
    //requireHttps: true,

    // The following property can be used to disable the editor. The admin API
    // is not affected by this option. To disable both the editor and the admin
    // API, use either the httpRoot or httpAdminRoot properties
    //disableEditor: false,

    // The following property can be used to configure cross-origin resource sharing
    // in the HTTP nodes.
    // See https://github.com/troygoode/node-cors#configuration-options for
    // details on its contents. The following is a basic permissive set of options:
    //httpNodeCors: {
    //    origin: "*",
    //    methods: "GET,PUT,POST,DELETE"
    //},

    // If you need to set an http proxy please set an environment variable
    // called http_proxy (or HTTP_PROXY) outside of Node-RED in the operating system.
    // For example - http_proxy=http://myproxy.com:8080
    // (Setting it here will have no effect)
    // You may also specify no_proxy (or NO_PROXY) to supply a comma separated
    // list of domains to not proxy, eg - no_proxy=.acme.co,.acme.co.uk

    // The following property can be used to add a custom middleware function
    // in front of all http in nodes. This allows custom authentication to be
    // applied to all http in nodes, or any other sort of common request processing.
    //httpNodeMiddleware: function(req,res,next) {
    //    // Handle/reject the request, or pass it on to the http in node by calling next();
    //    // Optionally skip our rawBodyParser by setting this to true;
    //    //req.skipRawBodyParser = true;
    //    next();
    //},


    // The following property can be used to add a custom middleware function
    // in front of all admin http routes. For example, to set custom http
    // headers
    // httpAdminMiddleware: function(req,res,next) {
    //    // Set the X-Frame-Options header to limit where the editor
    //    // can be embedded
    //    //res.set('X-Frame-Options', 'sameorigin');
    //    next();
    // },

    // The following property can be used to pass custom options to the Express.js
    // server used by Node-RED. For a full list of available options, refer
    // to http://expressjs.com/en/api.html#app.settings.table
    //httpServerOptions: { },

    // The following property can be used to verify websocket connection attempts.
    // This allows, for example, the HTTP request headers to be checked to ensure
    // they include valid authentication information.
    //webSocketNodeVerifyClient: function(info) {
    //    // 'info' has three properties:
    //    //   - origin : the value in the Origin header
    //    //   - req : the HTTP request
    //    //   - secure : true if req.connection.authorized or req.connection.encrypted is set
    //    //
    //    // The function should return true if the connection should be accepted, false otherwise.
    //    //
    //    // Alternatively, if this function is defined to accept a second argument, callback,
    //    // it can be used to verify the client asynchronously.
    //    // The callback takes three arguments:
    //    //   - result : boolean, whether to accept the connection or not
    //    //   - code : if result is false, the HTTP error status to return
    //    //   - reason: if result is false, the HTTP reason string to return
    //},

    // The following property can be used to seed Global Context with predefined
    // values. This allows extra node modules to be made available with the
    // Function node.
    // For example,
    //    functionGlobalContext: { os:require('os') }
    // can be accessed in a function block as:
    //    global.get("os")
    functionGlobalContext: {
        // os:require('os'),
        // jfive:require("johnny-five"),
        // j5board:require("johnny-five").Board({repl:false})
    },
    // `global.keys()` returns a list of all properties set in global context.
    // This allows them to be displayed in the Context Sidebar within the editor.
    // In some circumstances it is not desirable to expose them to the editor. The
    // following property can be used to hide any property set in `functionGlobalContext`
    // from being list by `global.keys()`.
    // By default, the property is set to false to avoid accidental exposure of
    // their values. Setting this to true will cause the keys to be listed.
    exportGlobalContextKeys: false,


    // Context Storage
    // The following property can be used to enable context storage. The configuration
    // provided here will enable file-based context that flushes to disk every 30 seconds.
    // Refer to the documentation for further options: https://nodered.org/docs/api/context/
    //
    //contextStorage: {
    //    default: {
    //        module:"localfilesystem"
    //    },
    //},

    // The following property can be used to order the categories in the editor
    // palette. If a node's category is not in the list, the category will get
    // added to the end of the palette.
    // If not set, the following default order is used:
    //paletteCategories: ['subflows', 'common', 'function', 'network', 'sequence', 'parser', 'storage'],

    // Configure the logging output
    logging: {
        // Only console logging is currently supported
        console: {
            // Level of logging to be recorded. Options are:
            // fatal - only those errors which make the application unusable should be recorded
            // error - record errors which are deemed fatal for a particular request + fatal errors
            // warn - record problems which are non fatal + errors + fatal errors
            // info - record information about the general running of the application + warn + error + fatal errors
            // debug - record information which is more verbose than info + info + warn + error + fatal errors
            // trace - record very detailed logging + debug + info + warn + error + fatal errors
            // off - turn off all logging (doesn't affect metrics or audit)
            level: "info",
            // Whether or not to include metric events in the log output
            metrics: false,
            // Whether or not to include audit events in the log output
            audit: false
        }
    },

    // Customising the editor
    editorTheme: {
        projects: {
            // To enable the Projects feature, set this value to true
            enabled: false
        }
    }
}
편집기에서 ▼, ▲ 키를 이용하여 다음 부분을 찾습니다. 이 때 편집기의 윈도우 화면은 최대한 크게 하는 것이 편합니다.
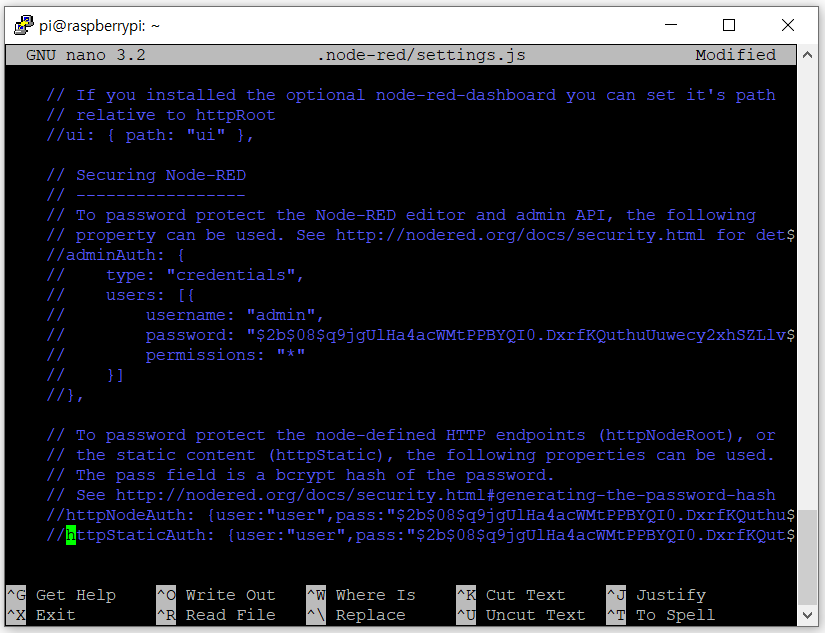
편집기에서 앞의 내용을 다음과 같이 수정합니다. 명령어 앞의 //를 없애고 두 군데에서 나타나는 password:와 pass:다음의 비밀 번호 해시는 앞 단계에서 복사해 둔 비밀 번호 해시로 바꿉니다.
// Securing Node-RED
// -----------------
// To password protect the Node-RED editor and admin API, the following
// property can be used. See http://nodered.org/docs/security.html for details.
adminAuth: {
type: "credentials",
users: [{
username: "admin",
password: "$2b$08$q9jgUlHa4acWMtPPBYQI0.DxrfKQuthuUuwecy2xhSZLlvAXmmSKm",
permissions: "*"
}]
},
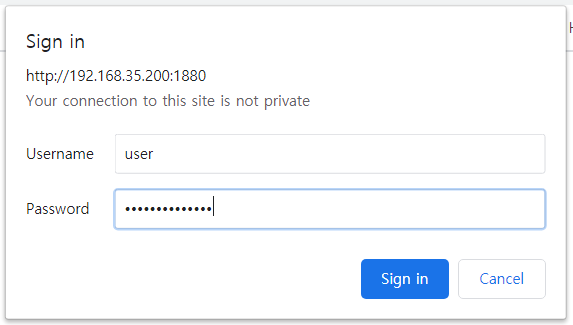
// To password protect the node-defined HTTP endpoints (httpNodeRoot), or
// the static content (httpStatic), the following properties can be used.
// The pass field is a bcrypt hash of the password.
// See http://nodered.org/docs/security.html#generating-the-password-hash
httpNodeAuth: {user:"user",pass:"$2b$08$q9jgUlHa4acWMtPPBYQI0.DxrfKQuthuUuwecy2xhSZLlvAXmmSKm"},
httpStaticAuth: {user:"user",pass:"$2b$08$q9jgUlHa4acWMtPPBYQI0.DxrfKQuthuUuwecy2xhSZLlvAXmmSKm"},
// The following property can be used to enable HTTPS
// See http://nodejs.org/api/https.html#https_https_createserver_options_requestlistener
ctrl+o, Enter, ctrl+o를 차례대로 실행하면 수정된 파일이 보관됩니다.
Node-RED 다시 실행하기
node-red-restart

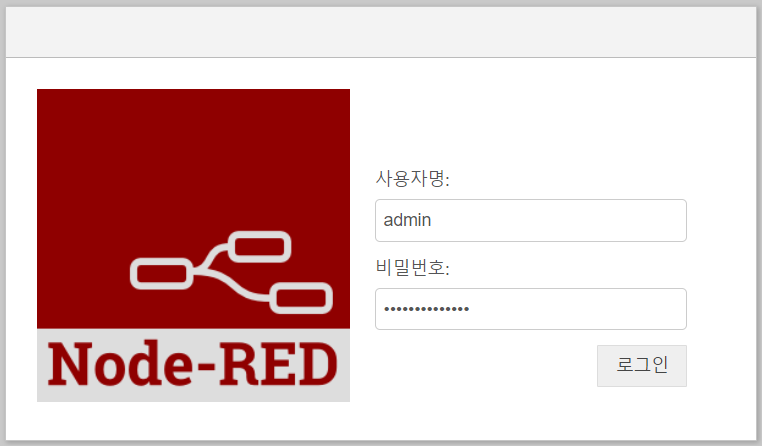
2 사용자와 비밀번호을 입력하여 로그인하기
http://node-red의IP:1880로 로그인할 때 사용자 ID admin와 비밀 번호gildongcoolguy을 입력해야 합니다.